#Jhumkamaking #Tutorial #polymerclay #Jhumkatutorial #rashi #rashcreations
Hi Everyone,
Being part of India and in jewelry creation, I have seen lots of jewelry designers love for Jhumka's. Jhumka's reflects a very traditional earrings worn by Indian women made from various materials - ranging from gold, silver to artificial metal and clay.
While they are very common, jewelry designers especially newbie's always struggle to learn the 'dome hollow shape' of Jhumka's. Many people use mold, many I heard have learned to do it by hand with experience while few keep on trying new ways. Interestingly, experienced designers in India still keep it as their trade secret :).
While I am not much into making Jhumka's but thought of trying to capture different ways of making them, however, its definitely not the only way.
Few designers have already published the basic ways while many use some plastic molds to get the hollow dome shaped. I tried the plastic mold but somehow was not very pleased with it. So I thought of making my own mold to create the Jhumka shape. Here I go with the steps on making the Jhumka Mold:
Before I start on it, would like to mention that my whole focus here is to make the mold and experiment on its success to make a Jhumka shape. I will have to sit again to make a beautiful finished piece out of it :).
STEP 1: Making the mold from scrap clay:
Jhumka molds can vary in size depending upon the size of Jhumka a person is interested in making. I am here making a mid size Jhumka mold so took sufficient amount of clay. Make sure that you make two portions of scrap clay, similar in amount in order to make 2 molds (as you need to make pair of Jhumka). For ease, I am making only one Jhumka mold here.

Also, Kindly note that I am the one who is taking photographs as well for whole process so mostly you will see only one hand :(.
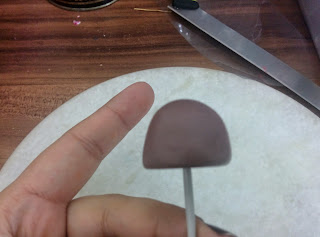
Anyway, once you have defined the size as per your requirement, make it into a round bead. Then, gently press the round bead from one side on the base so that one end of bead is almost flat. Refer to photos for details.


STEP 2: Shaping the mold:
This is very important and critical step. The way you shape your mold, end results of Jhumka will give you the similar shape. Now, I would want to highlight that mold shape depends upon what you like personally OR may be your customers like. I have seen few people making Jhumka's with more depth than broader base while few make wider base Jhumka's and are less deep. So make sure that you are shaping mold basis what you are expecting the shape of your final products.
I am making a very optimum shape here but feel free to modify as per your requirement.
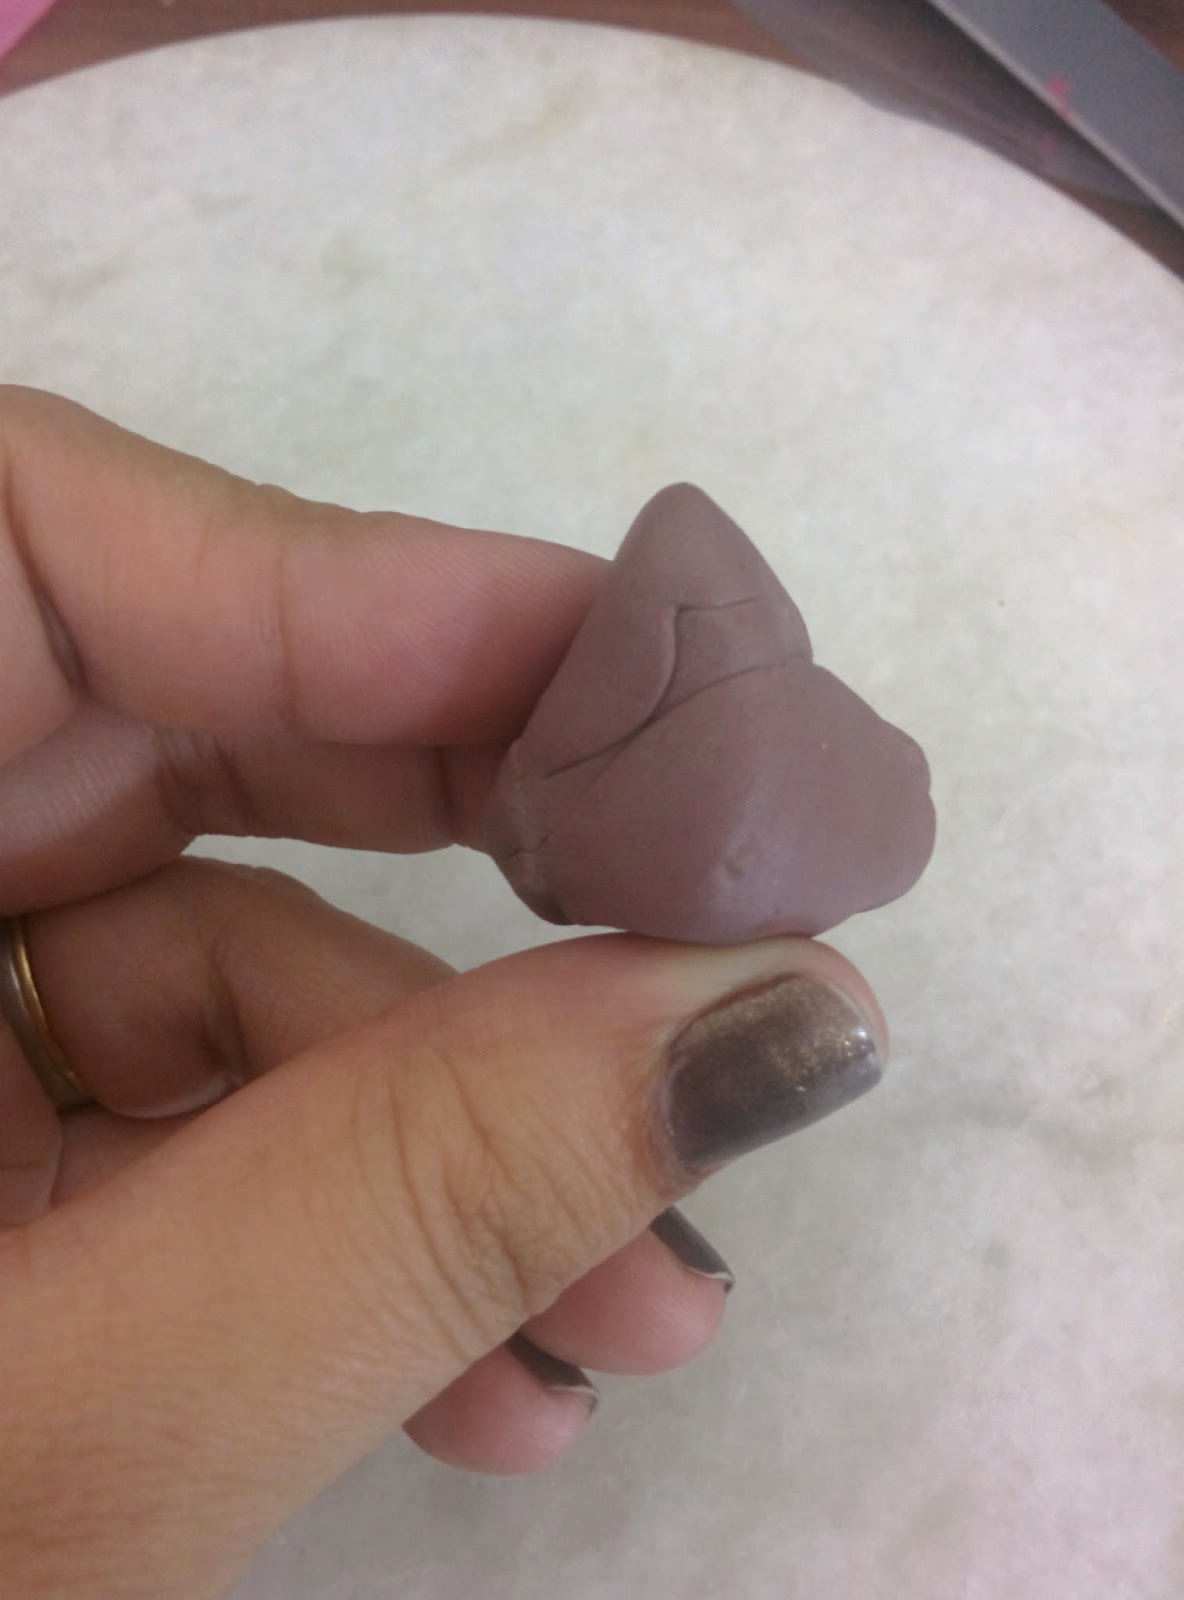
Ok, coming back to the clay. start pushing your clay little flat from base however, shaping the top as dome shaped - ensuring the depth. Do not worry, shape might get distorted little from sides but as you proceed, you will see a good shape coming up. Make sure that you are doing it with very light hands.


STEP 3: Making the Top semi-circle shape:
Now, its very important that all sides of the mold is maintaining the dome/semi-circle shape required in Jhumka's and its very difficult to achieve this all by hand. So, look around your house and pick anything which is semi-circle shape/ dome shaped. In my case, I have picked a spoon from my kitchen while few of you might have dome shape molds which can be used as well. Refer to pics for details/:


You will get a perfect semicircle shape from top. Now the task is to perfect shape of the base.
STEP 4: Final shape of the base:
This step is purely controlled by the movement of your hands. I always prefer to give little inward edge to mold as this helps in bringing a very nice round curve at bottom instead of just flat base. Start pushing the clay from base very smoothly towards inner end. Make sure that you are doing it gently - do not distort the shape.


STEP 5: Final Shape of the dome:
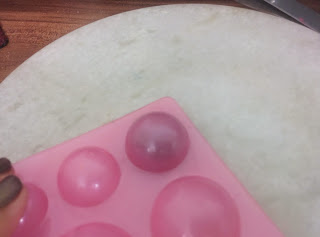
Repeat step 3, this time I am showing it with the plastic dome shape molds. Don't push much, its gentle and the final touch of the top of mold.

STEP 6: Making an Impression at the bottom of mold:
Now take any broad round shape thing and make a broad insert at the base of mold. Refer to pic for better understanding. This step will not impact the shape of mold but is important for easy removal of Jhumka clay (while you make them using this mold). Just make sure the insertion is till middle of mold and should not go to end. I have used a painting brush to create this impression.


STEP 7: Making a hole in mold:
Again, this step will not impact the shape of Jhumkas but will help in making a Hole at the top middle of Jhumka (final product). I have used a knitting needle to do this.


STEP 8: Bake the Mold:
Now, bake the mold at the recommended manufacturers temperature for the brand of clay you used. Let the mold cool after the recommended time - and guess what, your mold is ready for a Jhumka creation.
STEP 9: Making a trial Jhumka:
I am not focusing on the beauty of Jhumka here but on achieving the right shape of Jhumka by using this mold. I am gonna sit one more time on this mold and make nice Jhumka's, will share separately.
Critical step: Take some baking powder OR corn flour to avoid the Jhumka clay sticking to the mold. Sprinkle it all over the mold nicely, make sure you cover the mold thoroughly else the clay will stick to mold during baking process.


STEP 10: Covering the Jhumka clay over the mold:
Now, its little tricky step and you need lots of patience here. Condition clay and cut the clay with round cutter, make sure that the cutter used is atleast one size larger than the clay you will require to cover the mold. It helps in easy shaping.
Start covering the cut circle clay over mold. You will face it little slippery in starting due to corn flour but in 1-2 trials you will learn managing it.


While you cover mold from all sides, you will see a pile of clay collecting at one end. Don't panic, a very simple step will take that out.

Take a cutter, do a little slit at one side , raise it and bring the cay of opposite side towards the cut end. The clay which is now extra, take that out gently with the cutter and mend the two cut edges. Refer to pics for clarity.


As this step forms the base of Jhumka, I would prefer to do this with a scrap clay or any base color. The final jhumka surface, shape can be proceeded over this. As I am not making any funky Jhumka here, I will just put another layer of clay over it.
Alternative way for handling slit: If some people find it difficult to cut slit over the mold, you can do it beforehand only while you cut circle shape through cutter. Make a slit from centre to one side only and then proceed with Step of putting clay over mold. I am showing it with pics below:


Kindly ensure that you also do a hole in Jhumka clay before baking. It will be very easy now to locate a centre in Jhumka as a hole is already there in the mold and you can just insert in the same hole without difficulty.


Anyway, I am not focusing here on the Surface design so used some scrap canes over the Jhumka shape.

STEP 12: Very critical step: Bake and Take out Jhumka during baking from mold:
Once you are done with all surface designs, bake the Jhumka in oven at recommended temperature and time. Once, 15 minutes are past for Jhumka baking in oven, take out the Jhumka from oven. Make sure that you do this step while its hot as the cold clay is difficult to be removed from mold.
Take a cutter / blade and gently push the edges of Jhumka from mold and remove the Jhumka from mold. Continue baking of Jhumka post this step as per recommended temperature and time.


STEP 13: Proceed with Jhumka makeover as you want:
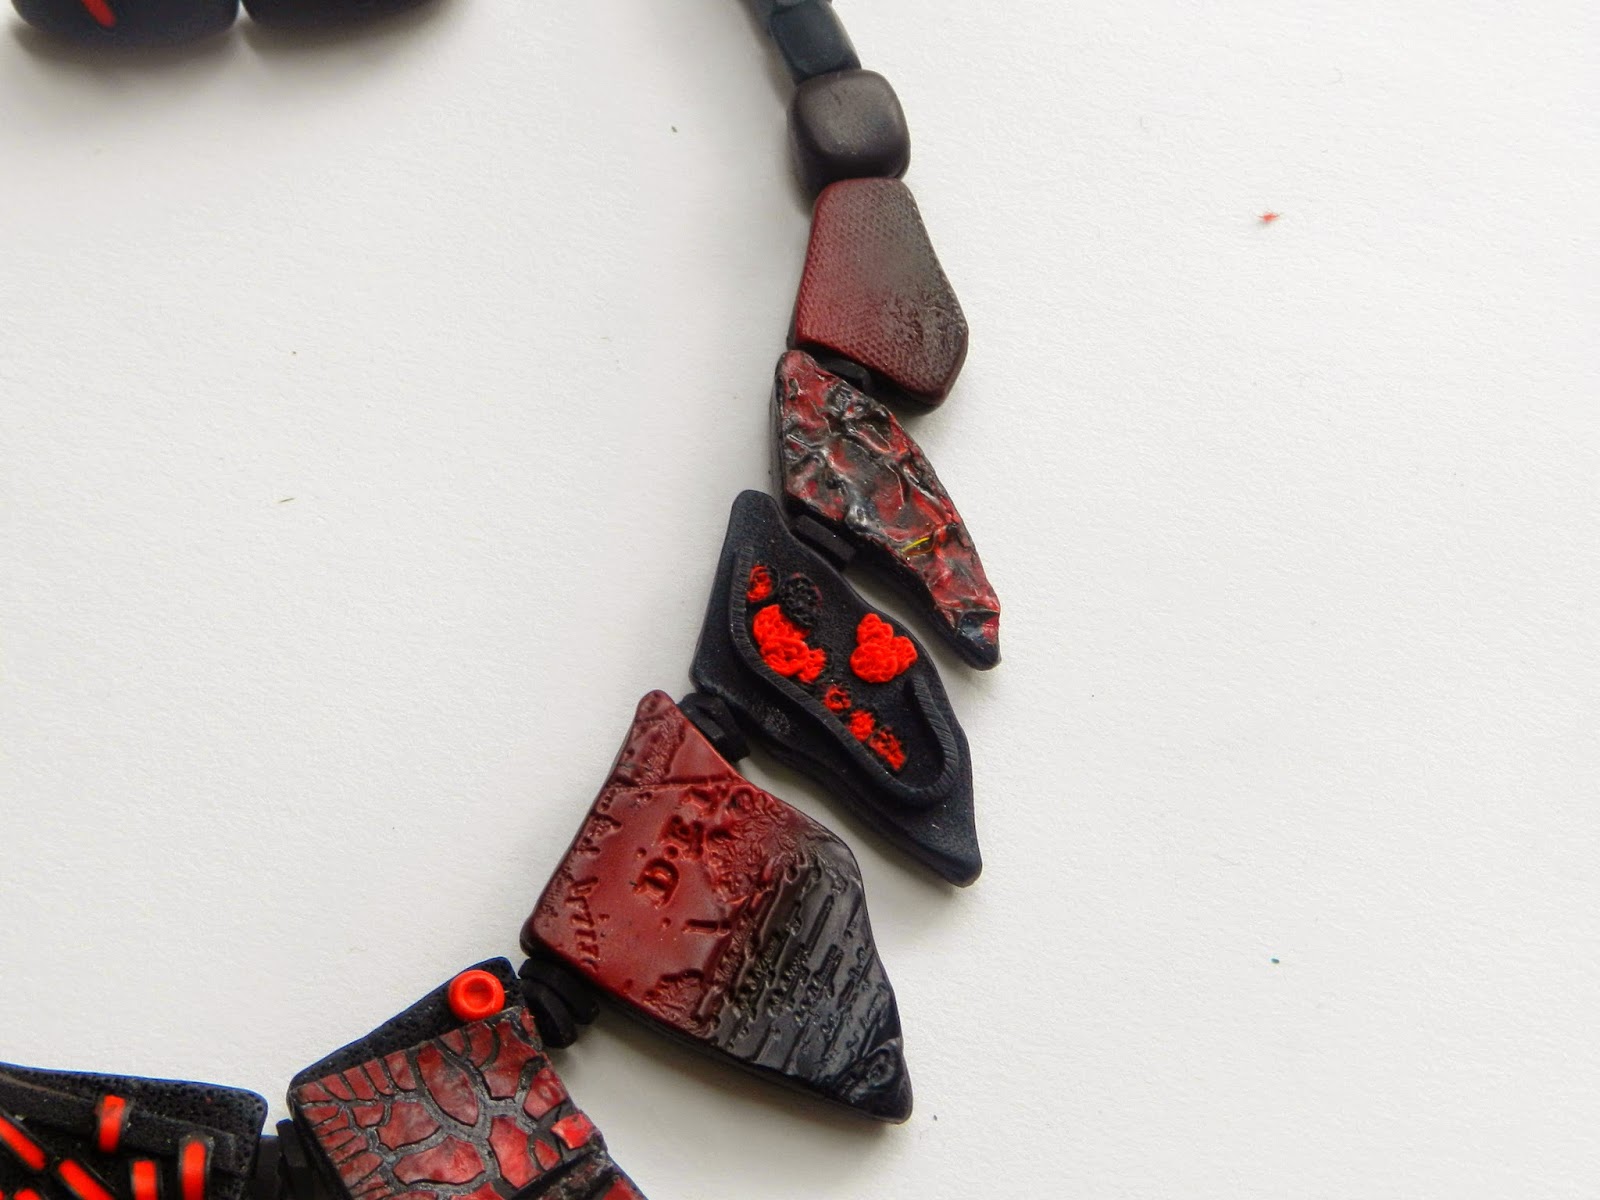
I am skipping over this bit for you people here. Here is my final baked Jhumka dome.

Hi Everyone,
Being part of India and in jewelry creation, I have seen lots of jewelry designers love for Jhumka's. Jhumka's reflects a very traditional earrings worn by Indian women made from various materials - ranging from gold, silver to artificial metal and clay.
While they are very common, jewelry designers especially newbie's always struggle to learn the 'dome hollow shape' of Jhumka's. Many people use mold, many I heard have learned to do it by hand with experience while few keep on trying new ways. Interestingly, experienced designers in India still keep it as their trade secret :).
While I am not much into making Jhumka's but thought of trying to capture different ways of making them, however, its definitely not the only way.
Few designers have already published the basic ways while many use some plastic molds to get the hollow dome shaped. I tried the plastic mold but somehow was not very pleased with it. So I thought of making my own mold to create the Jhumka shape. Here I go with the steps on making the Jhumka Mold:
Before I start on it, would like to mention that my whole focus here is to make the mold and experiment on its success to make a Jhumka shape. I will have to sit again to make a beautiful finished piece out of it :).
STEP 1: Making the mold from scrap clay:
Jhumka molds can vary in size depending upon the size of Jhumka a person is interested in making. I am here making a mid size Jhumka mold so took sufficient amount of clay. Make sure that you make two portions of scrap clay, similar in amount in order to make 2 molds (as you need to make pair of Jhumka). For ease, I am making only one Jhumka mold here.
Also, Kindly note that I am the one who is taking photographs as well for whole process so mostly you will see only one hand :(.
Anyway, once you have defined the size as per your requirement, make it into a round bead. Then, gently press the round bead from one side on the base so that one end of bead is almost flat. Refer to photos for details.


STEP 2: Shaping the mold:
This is very important and critical step. The way you shape your mold, end results of Jhumka will give you the similar shape. Now, I would want to highlight that mold shape depends upon what you like personally OR may be your customers like. I have seen few people making Jhumka's with more depth than broader base while few make wider base Jhumka's and are less deep. So make sure that you are shaping mold basis what you are expecting the shape of your final products.
I am making a very optimum shape here but feel free to modify as per your requirement.
Ok, coming back to the clay. start pushing your clay little flat from base however, shaping the top as dome shaped - ensuring the depth. Do not worry, shape might get distorted little from sides but as you proceed, you will see a good shape coming up. Make sure that you are doing it with very light hands.


STEP 3: Making the Top semi-circle shape:
Now, its very important that all sides of the mold is maintaining the dome/semi-circle shape required in Jhumka's and its very difficult to achieve this all by hand. So, look around your house and pick anything which is semi-circle shape/ dome shaped. In my case, I have picked a spoon from my kitchen while few of you might have dome shape molds which can be used as well. Refer to pics for details/:


You will get a perfect semicircle shape from top. Now the task is to perfect shape of the base.
STEP 4: Final shape of the base:
This step is purely controlled by the movement of your hands. I always prefer to give little inward edge to mold as this helps in bringing a very nice round curve at bottom instead of just flat base. Start pushing the clay from base very smoothly towards inner end. Make sure that you are doing it gently - do not distort the shape.


STEP 5: Final Shape of the dome:
Repeat step 3, this time I am showing it with the plastic dome shape molds. Don't push much, its gentle and the final touch of the top of mold.


STEP 6: Making an Impression at the bottom of mold:
Now take any broad round shape thing and make a broad insert at the base of mold. Refer to pic for better understanding. This step will not impact the shape of mold but is important for easy removal of Jhumka clay (while you make them using this mold). Just make sure the insertion is till middle of mold and should not go to end. I have used a painting brush to create this impression.


STEP 7: Making a hole in mold:
Again, this step will not impact the shape of Jhumkas but will help in making a Hole at the top middle of Jhumka (final product). I have used a knitting needle to do this.


STEP 8: Bake the Mold:
Now, bake the mold at the recommended manufacturers temperature for the brand of clay you used. Let the mold cool after the recommended time - and guess what, your mold is ready for a Jhumka creation.
STEP 9: Making a trial Jhumka:
I am not focusing on the beauty of Jhumka here but on achieving the right shape of Jhumka by using this mold. I am gonna sit one more time on this mold and make nice Jhumka's, will share separately.
Critical step: Take some baking powder OR corn flour to avoid the Jhumka clay sticking to the mold. Sprinkle it all over the mold nicely, make sure you cover the mold thoroughly else the clay will stick to mold during baking process.


STEP 10: Covering the Jhumka clay over the mold:
Now, its little tricky step and you need lots of patience here. Condition clay and cut the clay with round cutter, make sure that the cutter used is atleast one size larger than the clay you will require to cover the mold. It helps in easy shaping.
Start covering the cut circle clay over mold. You will face it little slippery in starting due to corn flour but in 1-2 trials you will learn managing it.


While you cover mold from all sides, you will see a pile of clay collecting at one end. Don't panic, a very simple step will take that out.

Take a cutter, do a little slit at one side , raise it and bring the cay of opposite side towards the cut end. The clay which is now extra, take that out gently with the cutter and mend the two cut edges. Refer to pics for clarity.


As this step forms the base of Jhumka, I would prefer to do this with a scrap clay or any base color. The final jhumka surface, shape can be proceeded over this. As I am not making any funky Jhumka here, I will just put another layer of clay over it.
Alternative way for handling slit: If some people find it difficult to cut slit over the mold, you can do it beforehand only while you cut circle shape through cutter. Make a slit from centre to one side only and then proceed with Step of putting clay over mold. I am showing it with pics below:


STEP 11: Shaping the Jhumka clay:
Now gently dab the clay on mold and cut the base flat. I would not be worried much about making perfect flat base here as that can be done while sanding base after Jhumka baking is done.
Important: While taking excess from base, Make sure that you loosen up the Jhumka clay from mold with a blade. This step will help very easy removal of Jhumka from mold during baking and will not harm your Jhumka at all.
Designing of Jhumka with canes, textures OR any other top decorations can be done at this stage.
The benefit of using mold is that you can create your Jhumka surface designs immediately after your base clay is shaped well on mold and you can avoid 2 baking steps.


Kindly ensure that you also do a hole in Jhumka clay before baking. It will be very easy now to locate a centre in Jhumka as a hole is already there in the mold and you can just insert in the same hole without difficulty.


Anyway, I am not focusing here on the Surface design so used some scrap canes over the Jhumka shape.

STEP 12: Very critical step: Bake and Take out Jhumka during baking from mold:
Once you are done with all surface designs, bake the Jhumka in oven at recommended temperature and time. Once, 15 minutes are past for Jhumka baking in oven, take out the Jhumka from oven. Make sure that you do this step while its hot as the cold clay is difficult to be removed from mold.
Take a cutter / blade and gently push the edges of Jhumka from mold and remove the Jhumka from mold. Continue baking of Jhumka post this step as per recommended temperature and time.


STEP 13: Proceed with Jhumka makeover as you want:
I am skipping over this bit for you people here. Here is my final baked Jhumka dome.

To mention, I have few more ways of making Jhumka's which I will try and upload eventually with time so stay tuned. The whole idea of putting this tutorial is to provide a basic guide for all beginners and you can improvise with your own means.
Some final tips / Views:
- You can create multiple molds basis different shapes of Jhumkas required and then use them as and when you prepare earrings.
- Some might be wondering on why take too many steps for making MOLD - why not simply creating a circle into semi-circle and using that as mold. Yes, you can do that by all means but I personally don't like the blend semi-circle shape it gives to jhumka so prefer shaping mold the way I want my final Jhumka piece to look like, its totally your choice.
- Try your own methods on the way of shaping the molds, this is very basic one.
Hope this helped you.
Guys, let me know if you people think that I should create a video tutorial on this and will try to do so.
Happy claying.
Rashi (Rash Creations).
17th May 2015